It is really easy to install Strainlabs System, just plug in the router and tighten the bolts! You can directly follow up that the desired preload achieved in Strainlabs Analytics. For a detailed step-by-step instructions, download the Strainlabs User Manual or just watch the 5 minutes video below.
How to Install Strainlabs: just a few simple steps
Step 1.
Unbox & Prepare. Your Strainlabs package includes:
Step 2.
Install
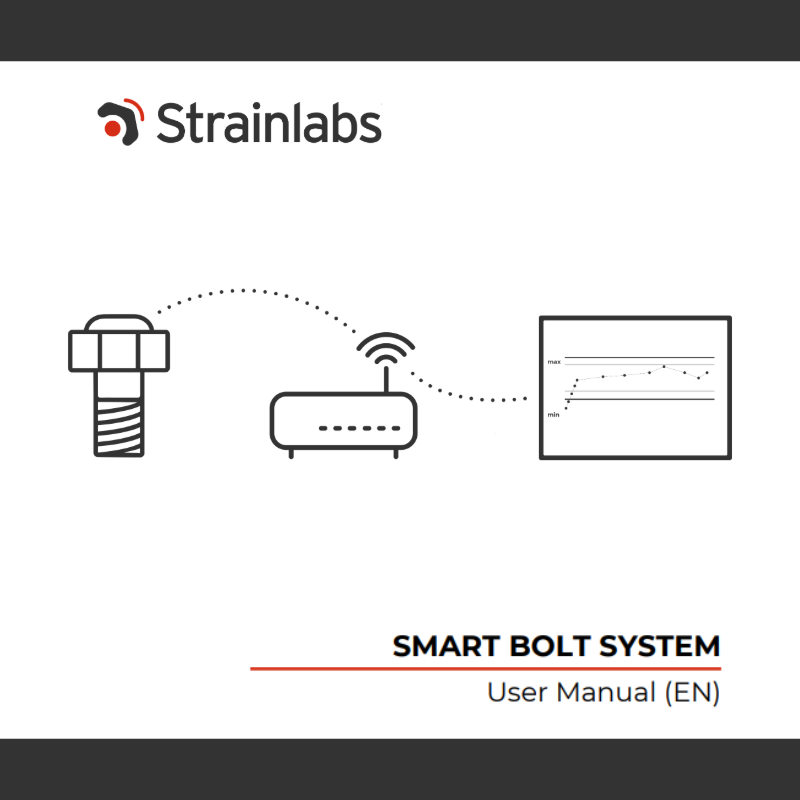
- Connect the Strainlabs Router: Plug it in – that’s it! The router automatically detects and connects to your bolts.
- Replace Existing Bolts: Simply swap out your standard bolts for Strainlabs Smart Bolts. Tighten them as you normally would, no special tools required.
Step 3.
Start monitoring: Log in to the Strainlabs Dashboard. View live data & set up alerts for preload changes.

Why Strainlabs?
- Plug-and-play installation – No advanced technical skills required.
- Wireless, real-time monitoring – Get instant preload data.
- Prevent bolt failures before they happen – Reduce downtime & maintenance costs.
- Works with your existing infrastructure.
Regardless of what kind of industrial application you are monitoring, Strainlabs makes maintenance effortless and reliable. The future of structural monitoring is wireless, effortless, and data driven. With Strainlabs, you’re not just installing a system – you’re upgrading the way you work.
Contact us today or request a demo.
Watch more videos from us here: https://www.youtube.com/@strainlabs1994